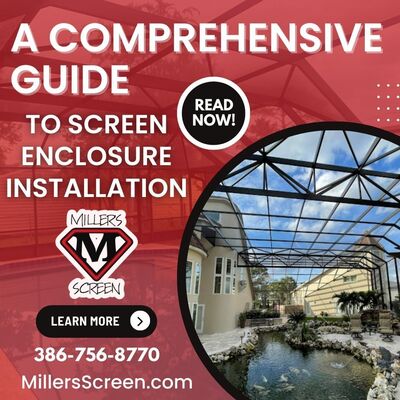
Miller's Screen has been an industry leader with over 40 years of experience in the aluminum and screening industry by specializing in crafting screen enclosures. The dedicated team at Miller's Screen understands the intricate details of turning your backyard into a captivating haven. From the initial planning stages to the final installation and beyond, their commitment to excellence shines through every step of the process.
What precisely constitutes the steps involved in the process of installing a screen enclosure?
The first crucial step in the screen enclosure journey is to pinpoint the ideal location and size for the structure. Taking your backyard's layout, available space, and envisioned use of the enclosure into account is the foundation for the entire project. Miller's Screen emphasizes the importance of considering landscaping and outdoor living spaces to integrate the enclosure into your home environment.
With the location and size determined, the next step involves selecting a design and materials. Miller's Screen offers a range of options, with aluminum and vinyl standing out as popular choices. Each material has advantages and disadvantages, and the team at Miller's Screen provides expert guidance to help clients make informed decisions based on their specific needs and preferences.
Navigating the bureaucratic landscape is simplified with Miller's Screen by your side. Before the installation process commences, securing necessary permits from local authorities is essential. Miller's Screen staff assists clients in understanding and meeting local regulations and codes, ensuring a smooth and compliant installation process.
Once the design, materials, and permits are in place, a team of seasoned professionals from Miller's Screen arrives at your home on your scheduled installation date to bring the envisioned structure to life. The dedicated installation team at Miller's Screen ensures the meticulous execution of every project from beginning to end.
Transforming your backyard into a construction zone requires thoughtful preparation. Miller's Screen recommends clearing the area, providing access to outdoor outlets for power tools, and securing the space for a safe and efficient installation. Remove furniture and décor, cover remaining items with protective plastic, and make arrangements for children and pets to contribute to a hassle-free process.
Communication is key at Miller's Screen. While they strive for trouble-free installations, unforeseen circumstances may arise. Maintaining open lines of communication ensures that any issues are addressed promptly. Clients are encouraged to voice concerns, and Miller's Screen commits to resolving them efficiently.
With the installation complete, it's time to bask in the transformed space. Miller's Screen encourages clients to relish the newfound outdoor haven but emphasizes the importance of ongoing maintenance to ensure the longevity of the screen enclosure.
Miller's Screen's unwavering dedication to excellence, on top of their wealth of experience, makes them a trusted partner in creating stunning screen enclosures. Serving various areas, including Daytona Beach and Ormond Beach, Miller's Screen is committed to delivering the best experience, ensuring that every project is not built but crafted with pride.
Schedule an estimate appointment today and discover why, at Miller's Screen, it's worth the wait!


